Elevation: 1,354 ft (overall) 2,587 ft (total)
Time: 2:03 (Three Mile Rd) 3:19 (South Peak) 3:42 (Shelter) 4:18 (South Peak) 5:05 (Total)
Trails: Hanover Center Trail, Moose Mountain Trail, Fred Harris Trail, Nat Thompson Trail, Moose Mountain Shelter Loop
Another day of redlining in the Hanover area, starting where I left off with my last hike. To eliminate needing to rehike almost all of the route to get back to my truck, I made use of my bike to peddle my way from one parking area to another to start the hike. I parked in the small pull-off on Three Mile Road where the Hanover Center Trail and Moose Mountain Trail meet. From there, I rode my bike down Three Mile Rd to Ruddsboro Road. I then went right until Etna Road, where I quickly hit Partridge Road to save some distance and elevation over to Trescott Road. From there it is a short ride to the trailhead, where I locked my bike up off in the trees.
The early sections of today's hike were very gentle with no big ups or downs along the way. The trail passed through varied different sections of forest that were all lush and green with the newly opened leaves on the trees and plants. This part of the hike was very enjoyable and almost seemed like it was over too quick, as I was soon coming to the road crossing of Etna Road.

Hanover Center Trail following a stone wall

A sea of green

Bridge crossing just before Etna Road
After crossing Etna Road, the trail suddenly enters into a section of softwoods which seemed to have a thick enough canopy that it blocked some of the light and made the trail darker. After a little while, it ended just as quick as it started with a sudden transition back to hardwoods. After entering back into the hardwoods, the trail soon comes to an old field that appears to be growing back in with trees and plants. The trail through here started quite muddy, and there wasn't much way around it without getting wet from the grass next to the trail. I did my best and was glad things dried out some, but not completely, as the trail got higher into the field. After this, the trail was a bit more of a mix of softwoods and hardwoods, with it being more in the hardwoods with lots of green leaves all around. Soon enough, I was at my truck where I adjusted my footwear before crossing the road the head up Moose Mountain.

Going through a darker section of forest

This field was muddy, but also nice
I started up the Moose Mountain Trail, which has a little bit of ups and downs through here before it drops to a bridged stream crossing. Not far up the trail from here, the Fred Harris Trail crosses the AT. For redlining, you need to take a left here and take it to the Nat Thompson Trail, where you turn right and go past the Dartmouth Class of 66 Lodge. The lodge was a good place for a short break and some pictures. It seemed like it might start raining here, but it didn't really materialize.

Bridged stream crossing

Dartmouth College's Class of 66 Lodge
The Nat Thompson Trail goes past the left side of the lodge and starts climbing up what appears to be an old woods road. The steepest section of this trail is early on, and soon enough it levels out some (but not completely) while still following the woods road through a few small muddy sections. Eventually, the trail becomes just a path in the woods and brings you up to the Moose Mountain Trail (AT), just before actually reaching the south peak.
Before going to the south peak, I wanted to head out to the Moose Mountain Shelter, and Loop Trail. It was just starting to rain lightly, and I figured the view would be better after the rain stopped and the clouds could go away some. The trail drops in elevation to the crossing of an old section of Wolfeboro Road. It then gains elevation slowly before reaching the southern junction of the Moose Mountain Shelter Loop. I hung out at the shelter for a little while enjoying the small view and having some lunch.

The AT heading away from the south peak summit area

Moose Mountain Shelter

View from the shelter
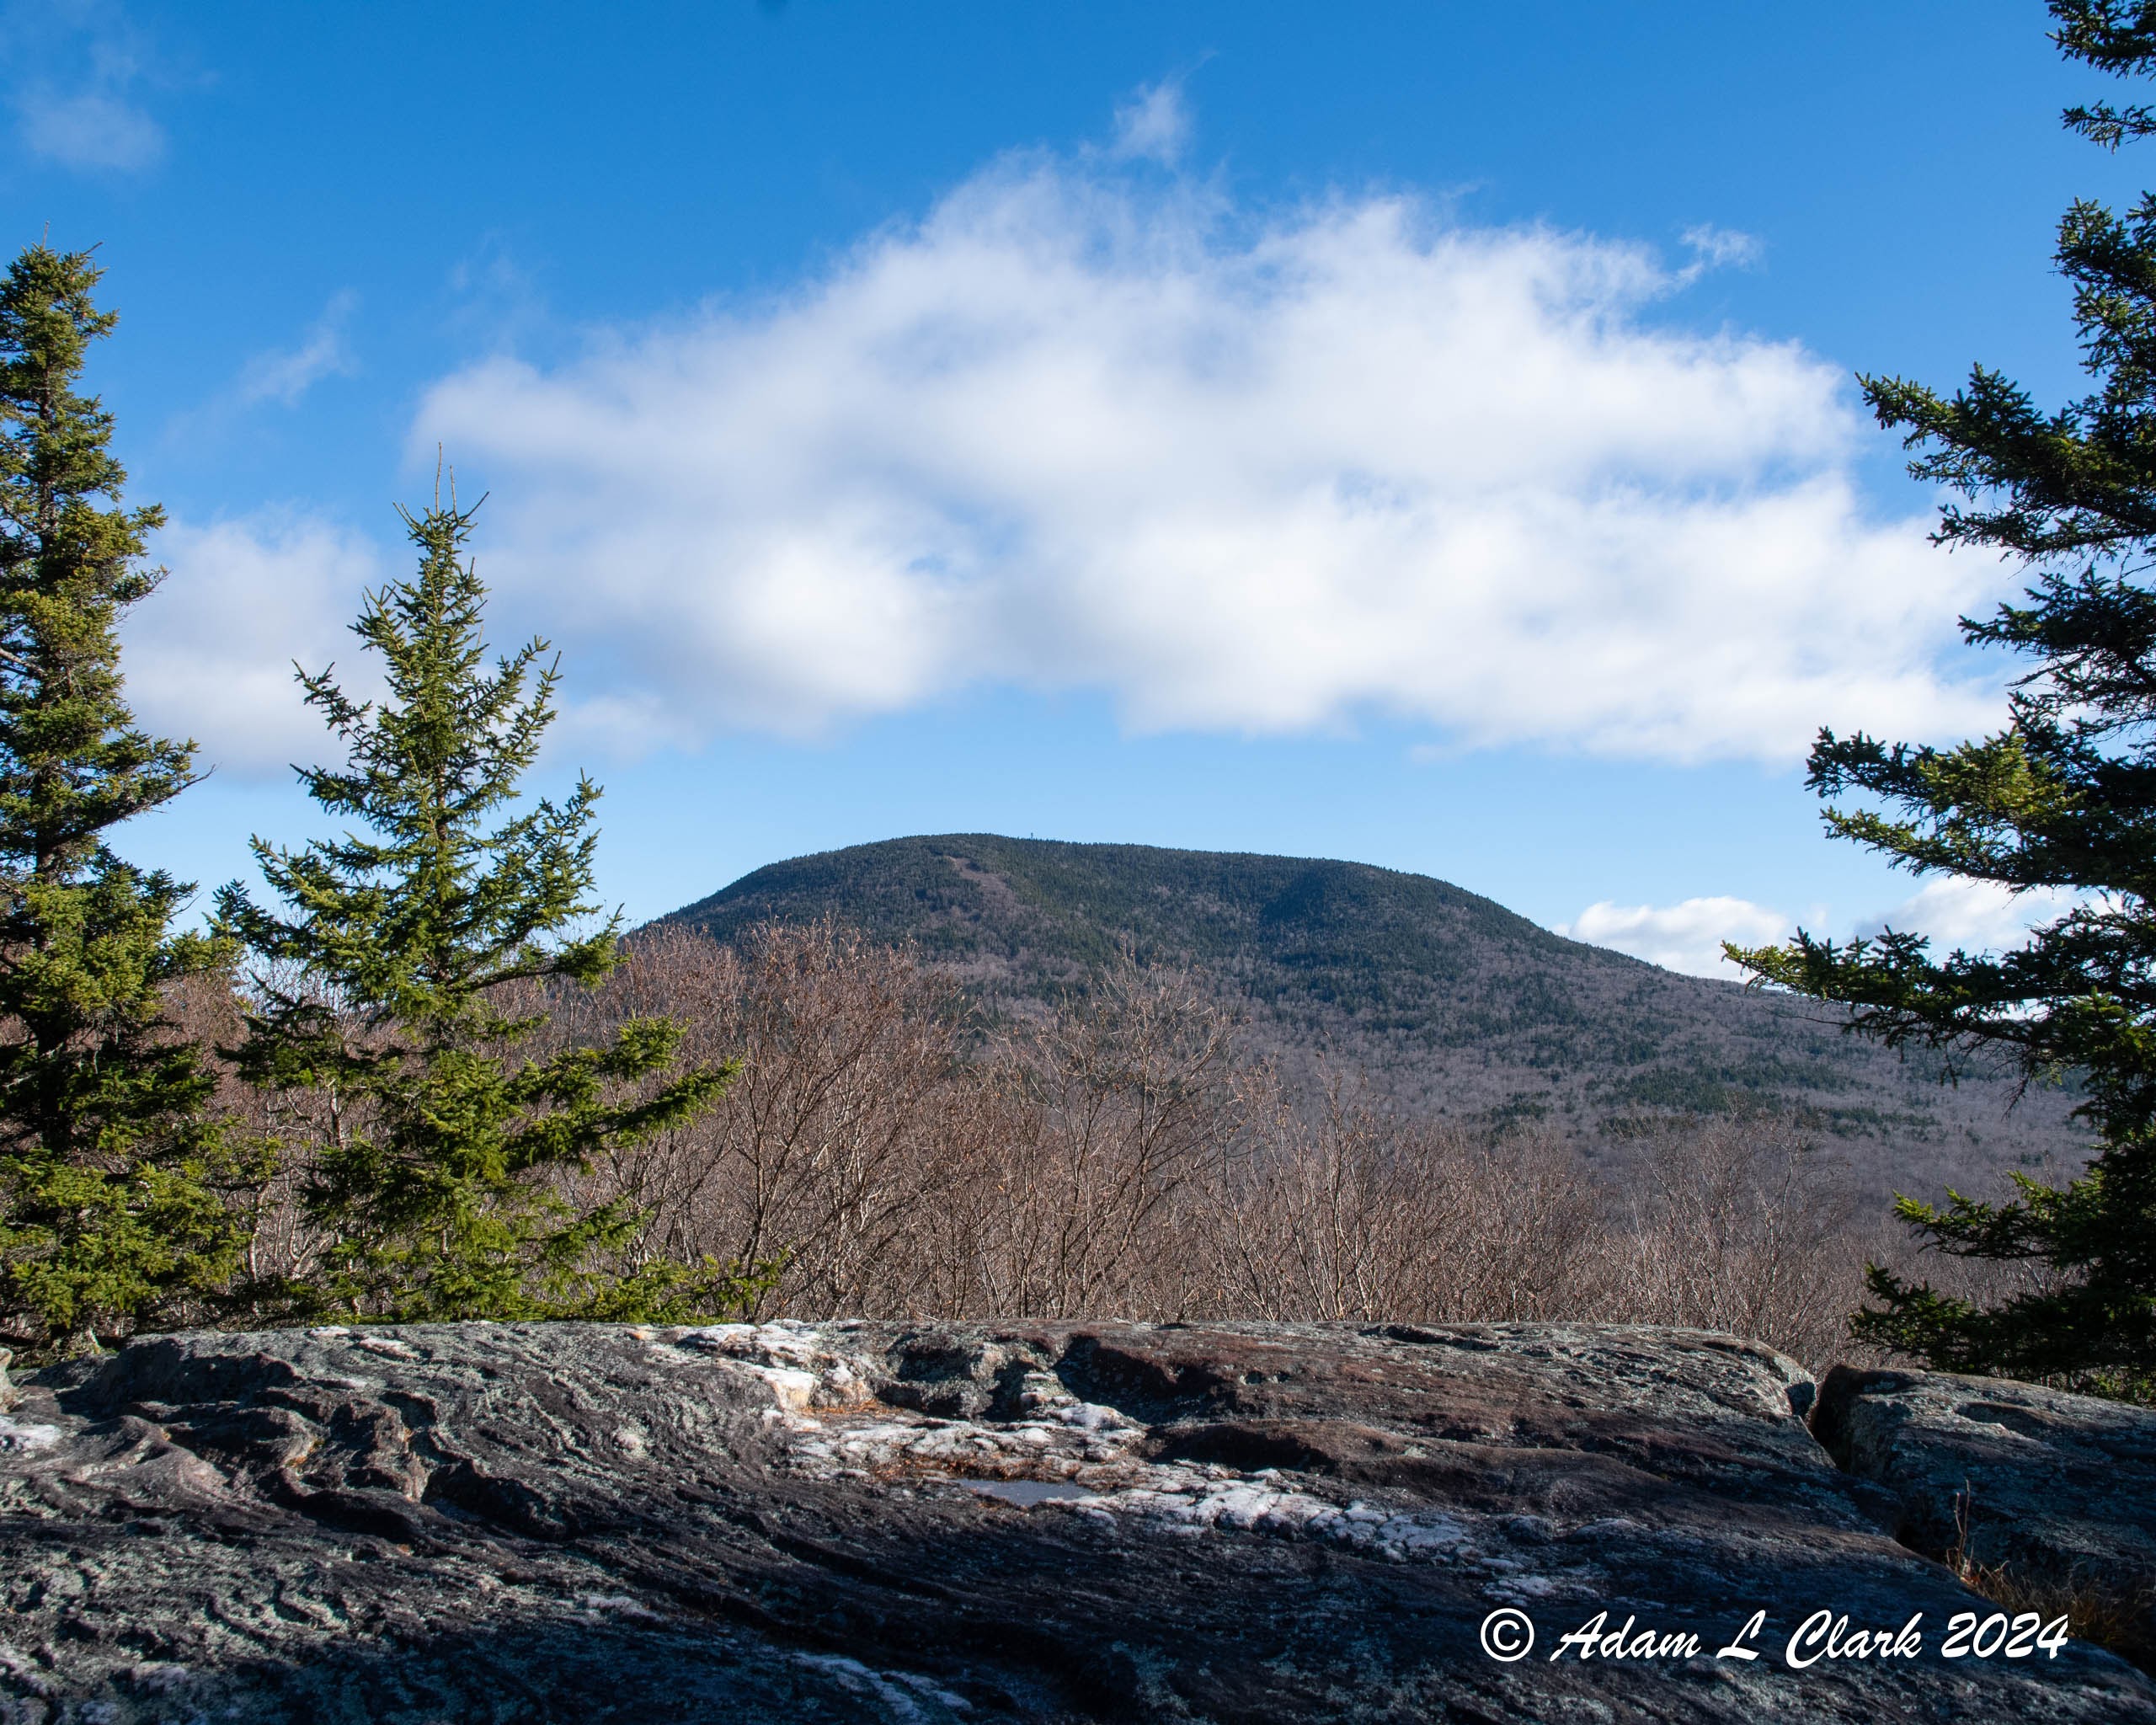
When leaving the shelter, I continued up to the northern end of the loop before heading back towards the south peak using the Moose Mountain Trail (AT). I did this so that I would know for sure where I needed to stop when I come in from the other direction to redline the rest of the Moose Mountain Trail. From here, I kept things at a casual pace to get back up to the south summit. I had plenty of time and didn't feel like rushing though a nice section of forest. Once I reached the south peak, I took another long break to enjoy the view and take some pictures. I wanted to try and find some of the plane wreckage from a crash that happened here years ago. I wasn't able to find enough info before this hike to narrow down how close to the actual summit the crash happened, but there are a few small pieces of the plane that can be found scattered around.

Moose Mountain South Peak summit view
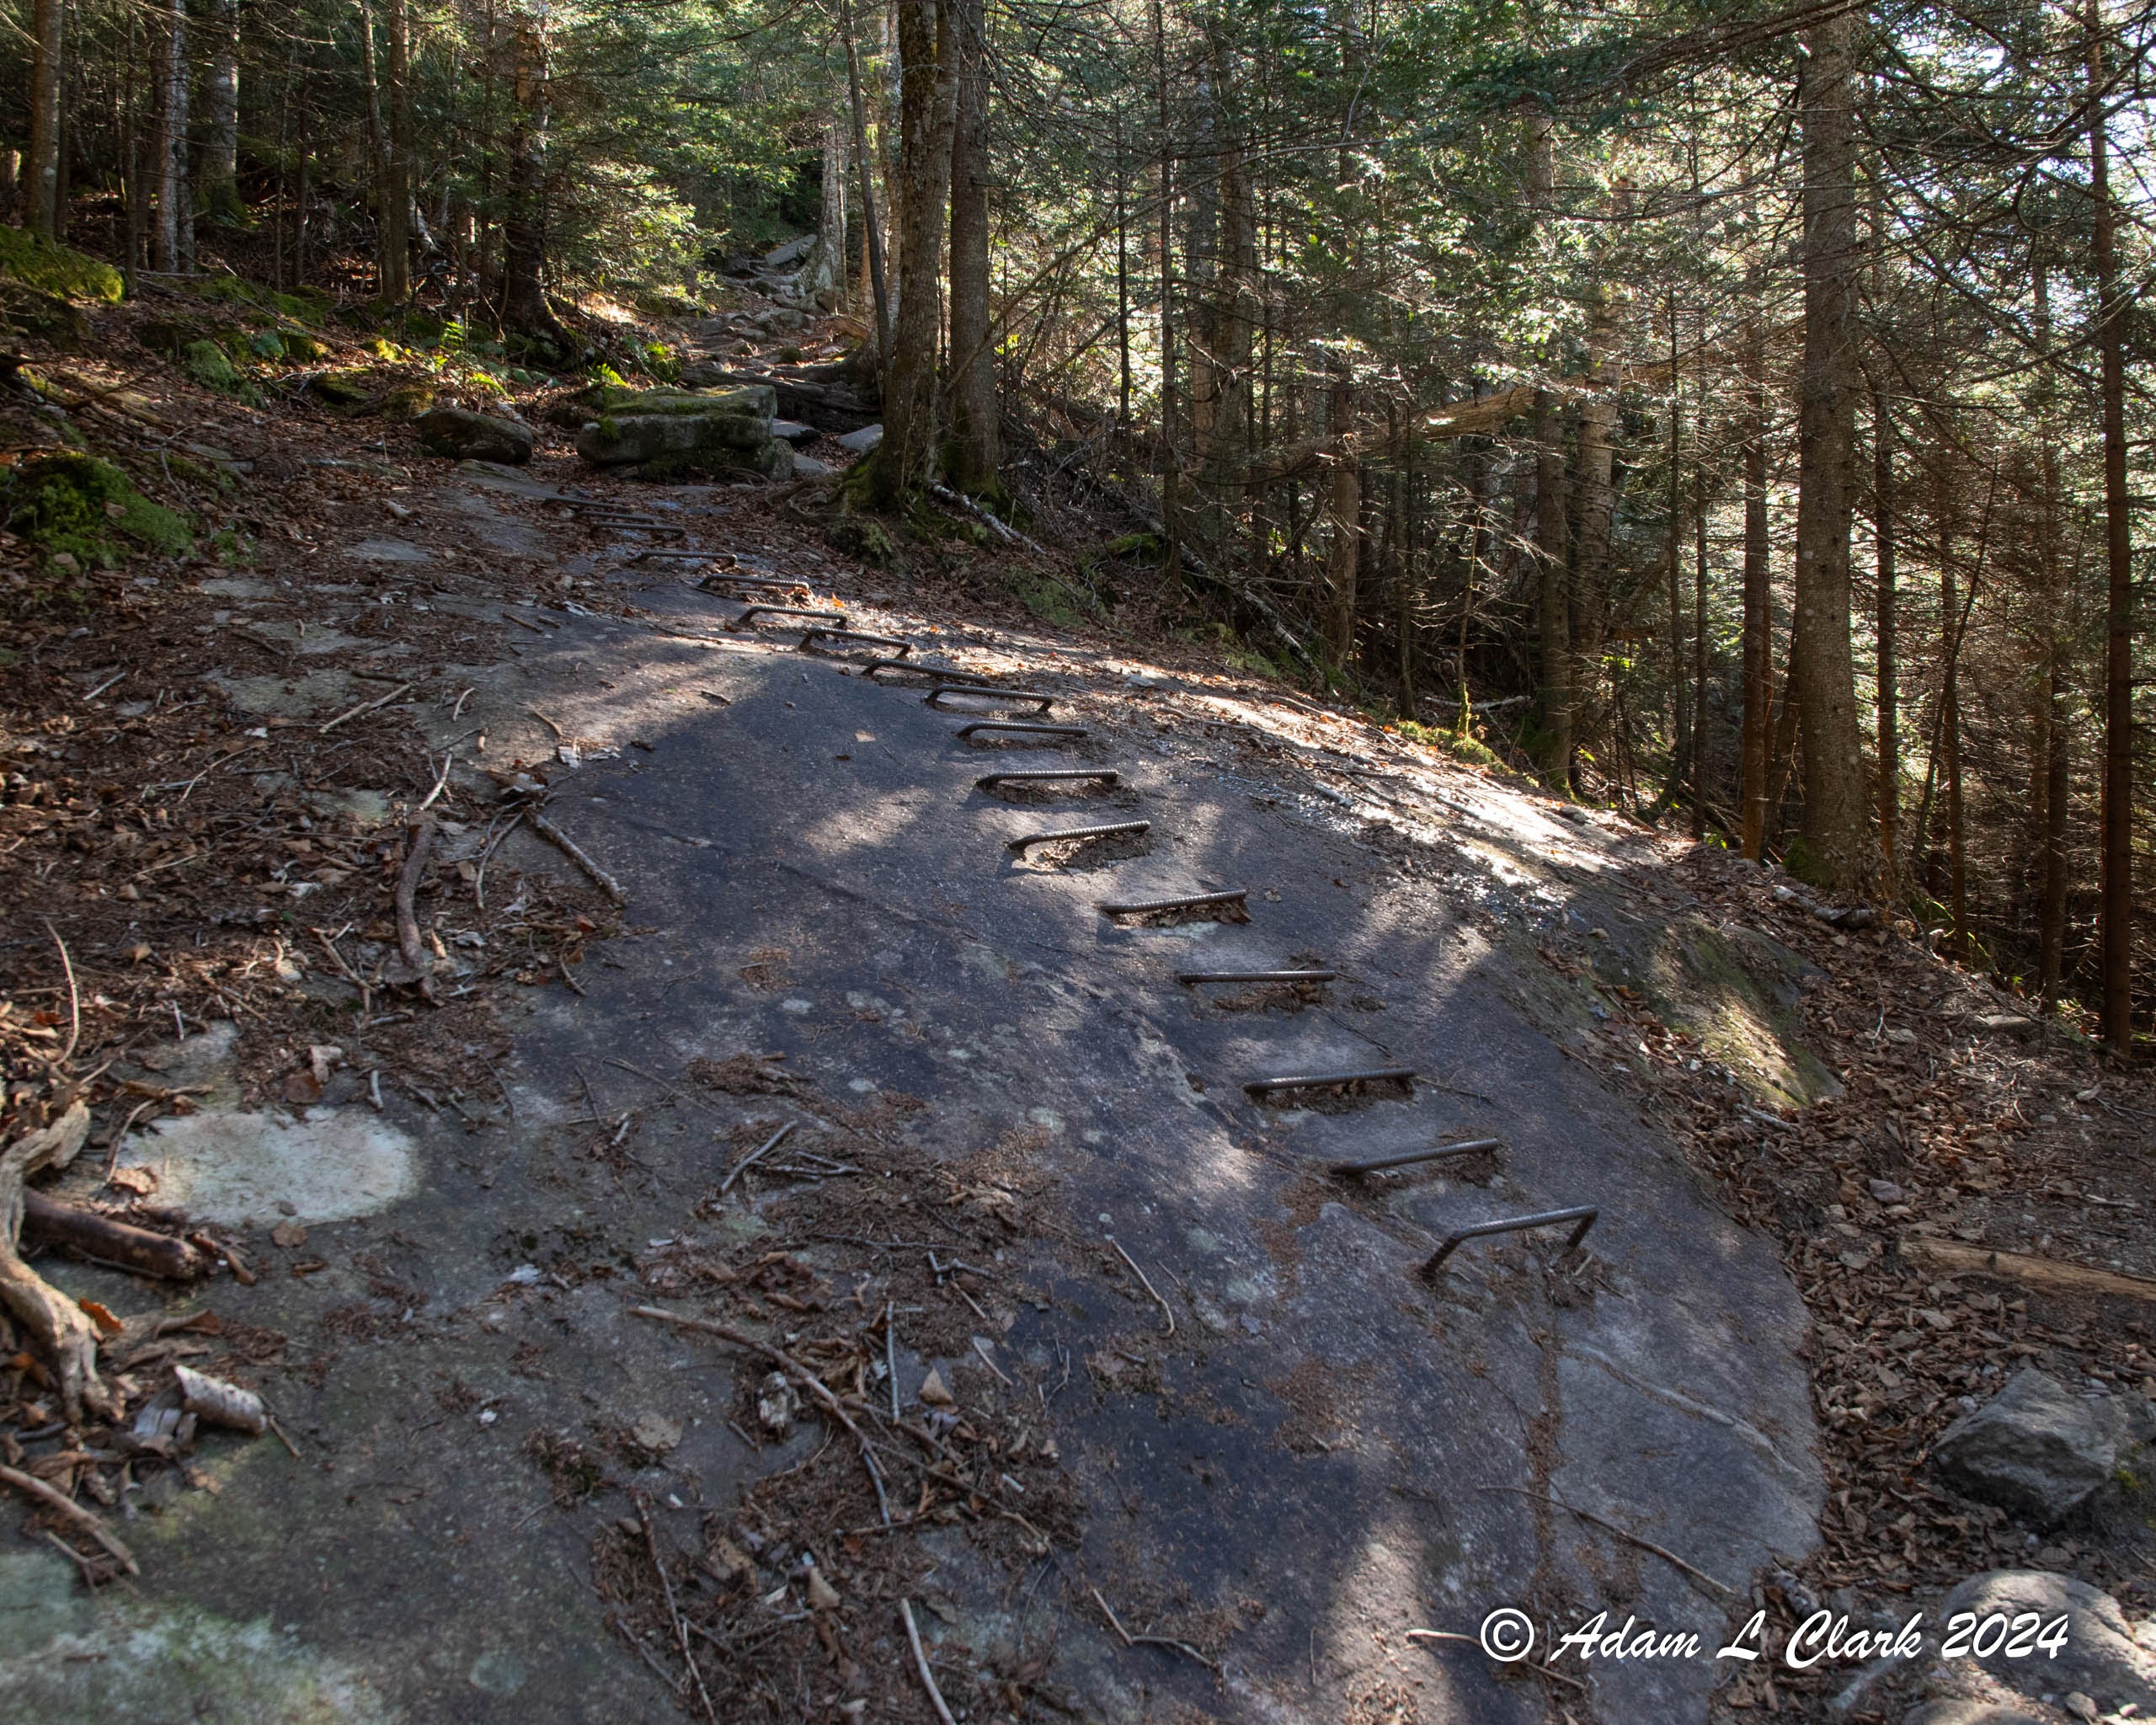
The descent back down the mountain was pretty straight forward with the trail having just a bit a mud in places high up, and some rocks along the way, which should be expected being the AT and how much traffic that sees. The trail gets a little steeper as it gets lower down, and it also kind of follows along in a sidehill manor for a bit. But, soon enough, I was back at the Fred Harris Trail, where I then retraced my steps back to my truck. Before putting on dry clothes and shoes, I drove over to the parking lot and picked up my bike from where I stashed it in the woods. Then I changed into dry clothes and went looking for some lunch on the drive back home.

Heading back down the Moose Mountain Trail (AT)

Google Earth representation of the hike
Today's hike was a very nice walk in the woods through some beautiful areas of trail. Nothing was overly hard, and while there wasn't much for views, even at the summit, it was an enjoyable day and I was glad to check off some more miles and trails for redlining.
For all the pictures from the hike, just go HERE